Basic Record Player Troubleshooting Procedures
Table of Contents
Troubleshooting record players require electrical and mechanical knowledge. Record players usually operate on the fundamental principles of geometry and physics. The record player rotates the vinyl at the set speed. The needle reads the vibrations produced by the groove, and the physical vibration turns into an electrical signal or amplified sound for playback. After learning the fundamental principles of mechanics and diagnostics, you can quickly and efficiently troubleshoot and repair turntables.
While turntables sometimes stop working outright, most of the time, they will work, but not as great as before. Sure, you may want to take it to a professional for repairs, but most times, that is unnecessary.
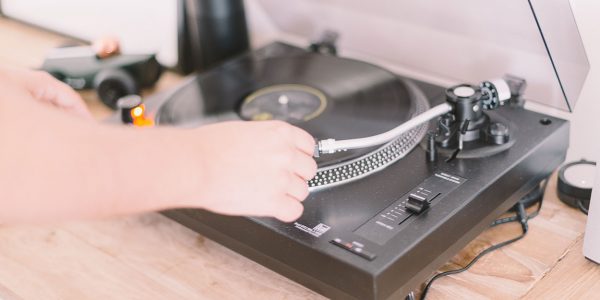
Most of the time, it is only a small problem that you can fix yourself. The ability to carry out basic troubleshooting on a faulty turntable will save you money and time.
Occasional maintenance, even when the record player is still working correctly, is extremely beneficial. It helps avoid future issues and lengthens the record player’s lifespan. Keep in mind that turntables have several sensitive parts. So, it is recommended that you only carry out the necessary troubleshooting procedures.
Some simple things you can do include thorough cleaning the player, a visual inspection of its components, repairing the power source, replacing the cartridge, belt, and needle.
Keep reading to learn some basic record player troubleshooting procedures. They are straightforward, and almost everyone can perform them with ease.
General Inspection of the Record Player
You can begin the inspection by switching off and unplugging the turntable. Visually inspect the turntable for any sign of damage. Check for broken parts, missing parts, dents, or chips. Compare them to the manual or photograph describing the turntable when new.
Inspect the turntables connections. Start at the power source by checking the cables and plugs for damaged or frayed connections.
Use a multimeter to examine the cables’ continuity.
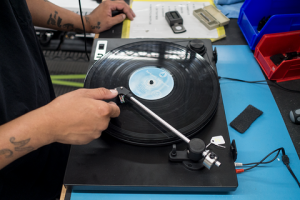
Use the multimeter to test for continuity and shorts from the plug to the cartridge. Check the output cable for secure electrical and physical connections. A signal tracer is a useful tool to help produce a test signal when testing the signal path through the wires.
Thorough Cleaning of the Record Player
A dirty turntable will not work the way it ought to. Although most record players come with dust seals and covers to prevent dirt from getting into the device, with time, they can still collect dust and grime.
You do not want these foreign particles to build up because it will ultimately affect the performance of your device. Besides making them so dirty that you will be forced to clean them, the dust can also damage your record player.
It is strongly recommended that you thoroughly clean your record player to remove any dust you can find without having to disassemble the player.
You can use a clean anti-static cloth to clean the player’s surfaces. Also, you can rub some alcohol on the unit when cleaning tougher dirt and fingerprints.
Warning, you should be very gentle with your record player, particularly around sensitive components such as the stylus, which requires special care.
Cleaning the Stylus
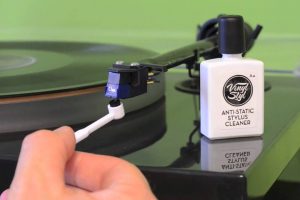
The stylus should be cleaned after every playing session. Although there are specialized stylus brushes that are made for this, you can still use a paintbrush, but has to have very soft bristles. The most important thing to remember is that you should only wipe from back to the front. You should never clean it side to side because this can also damage the needle.
Even though it can be slightly expensive than the brush, space-age polymer bubble cleaner is the easiest and most recommended method to clean the stylus.
Cartridge Replacement
If all the other components are working correctly, inspect the cartridge. There are many situations where a cartridge can fail. Usually, the needle will be operating properly, and all the connections are operational, but the cartridge fails to produce a signal. You need to note the manufacturer and model of the record player and cartridge when buying replacement components as they vary dramatically.
A screwdriver is generally all that is required to disassemble and replace the faulty cartridge.
Needle Replacement
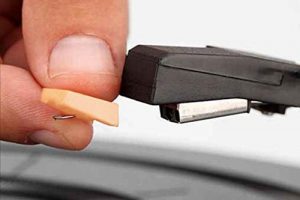
Replacement of the needle is a simple and basic troubleshooting procedure you can perform on your own. However, needle replacement slightly differs based on the exact model of your record player. For this reason, it is recommended that you first check with the manufacturers manual and follow the outlined steps. Else, you can directly contact the manufacturer or your brand distributor.
Considering that the needle is tiny, you may have to use a magnifying glass to check and remove it.
If you do not have an instruction manual, consult with the local store owner, or a record player expert who is more familiar with the product.
Once the new needle has been installed, you should avoid playing your most favorite records at first. Use an old record that you don’t care about to test the functionality of the new needle.
Replacement Of The Tonearm Cables
Replace damaged, frayed, or faulty tonearm cables. The connection replacements to the phonograph cartridge should be with solder-less or crimp connections. You must be very careful when threading the replacements through the tonearm because the wires are thin and can be damaged easily. Also, the cable connections can be corroded or dirty. Remove these connections and clean with sandpaper or emery cloth and reinstall.
Repair of the Power Source for RECORD PLAYER TROUBLESHOOTING
Repairing the power source is slightly more complicated as compared to record cleaning and needle replacement. Nevertheless, it should not be an issue if you are a hands-on person. In most cases, the power source will stop working because of prolonged use. Snapped wires or a broken circuit mostly cause the problem.
Thus, you can start to troubleshoot by inspecting the source of power and determine precisely what is causing the failure.
In case you have a broken circuit board, the only fix is to replace the entire component. That might involve soldering; hence, make sure this is something you are comfortable doing.
If snapped wires caused the problem, you can either completely replace the cables or try to reconnect them. If you feel uncomfortable doing any of this, then you should consider buying another power source. The good news is that they are not expensive.
Visual Inspection of the Drive System for RECORD PLAYER TROUBLESHOOTING
There are two types of modern record players: belt drive and direct drive. For the direct-drive record players, switching ON the AC motor will rotate the drive wheel that, in turn, rotates the record player. Prolonged use of the drive wheel can make the rubber lose its grip or deteriorate over time and can result in the motor needing to be replaced. On the other hand, a belt-driven record player uses a motor to drive a belt that ultimately rotates the record. Obviously, replacement is required if the belt fails. Furthermore, the switch or the motor can also be the cause of the record player not rotating at the correct speed. Therefore, it is crucial to inspect the housing and motor for burn marks or scorch and replace them accordingly.
Belt Replacement for RECORD PLAYER TROUBLESHOOTING
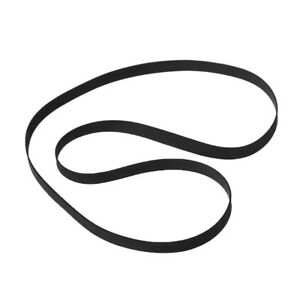
A broken belt will, without a doubt, affect the functionality of any belt-driven record player. If the belt is broken, then you need to buy a new one to replace it. You should check your device’s instruction manual because it provides a comprehensive record player troubleshooting guide on how to go about the process of replacing the belt.
Basic repairs of the belt are relatively simple, and it is something that anyone can do on their own.
Final Thoughts for RECORD PLAYER TROUBLESHOOTING
Fixing or replacement of various components on your record player should be quick and easy if you follow the necessary record player troubleshooting procedures listed here.


